This recipe reminds me of my slow cooker chicken for its simple yet rich flavors. I went light on seasonings to let the beefy flavor of brisket shine. Onions and garlic added a touch of sweet and savory flavor. The best part was the texture of the brisket. So tender and succulent it was that it practically melted in your mouth. I love my smoked brisket bit it just can’t compare to braised brisket in the tenderness and succulence department. The 4-hour braising perfectly melted collagen – the connective tissue protein present in meat – and turned it into gelatin that gave the meat a lot of flavor and silky texture.
Selecting the meat
I used the thicker half of a whole brisket for braising. This is the part where the point part sits on top flat muscle. The point is the richly marbled, fatty section of meat while the flat is the leaner bottom section. Braising a whole brisket is not practical as it won’t fit in anything in a typical kitchen. My half-brisket that weighed in at 8 lbs fit quite nicely in my 5.25 qt 11″ braiser. That said, any part of brisket will work. I like trimming most of fat off especially if braising the point part. If braising the leaner flat part of brisket, I like to leave a 1/4″ fat cap on top for flavor. Wet aged brisket is ideal for cooking. When buying brisket, look for packing date of 2-3 weeks prior. Alternatively, buy a commercially vacuum sealed brisket and let it age in the fridge for 2-3 weeks. This will tenderize the meat perfectly. Of course, beef grade matters too. Prime/Angus are the best choices but they tend to be expensive. Choice is the minimum grade you should go for.
Braising brisket
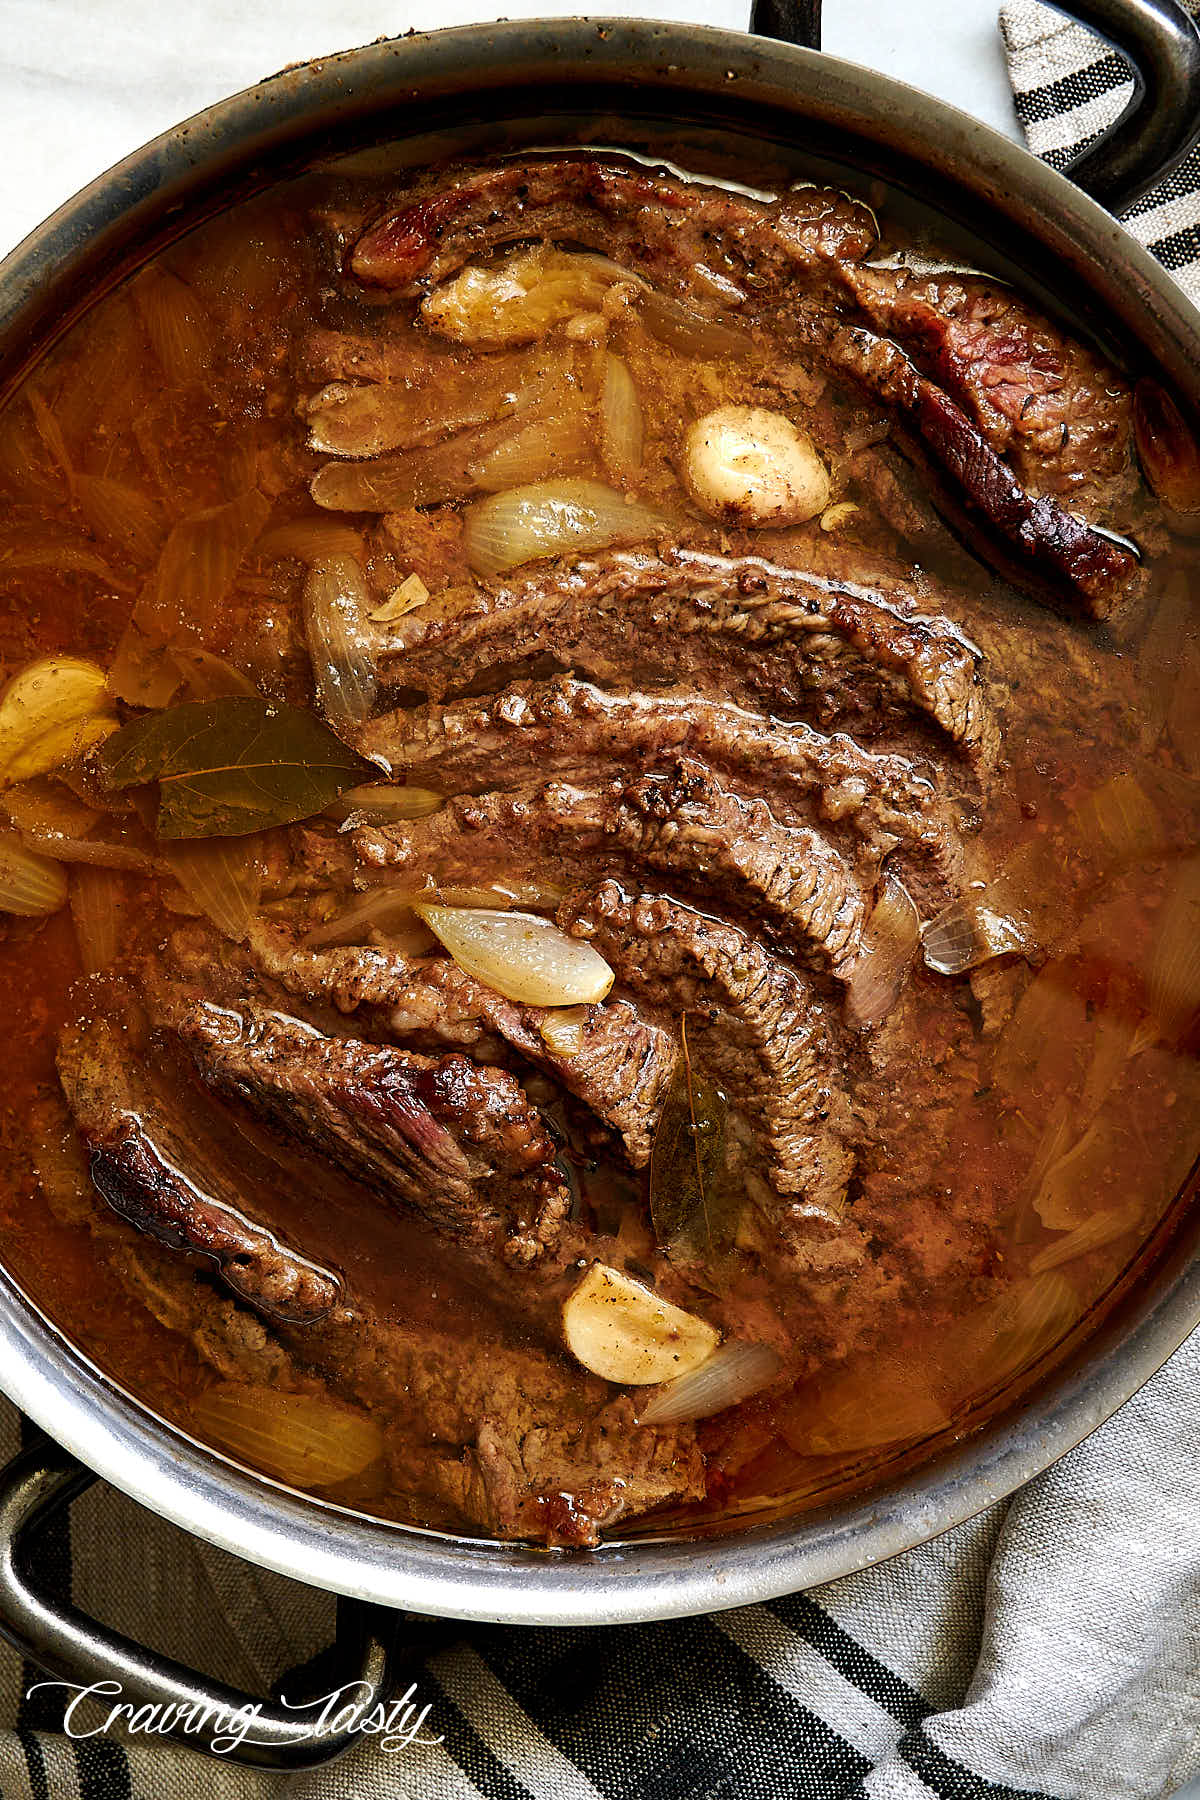
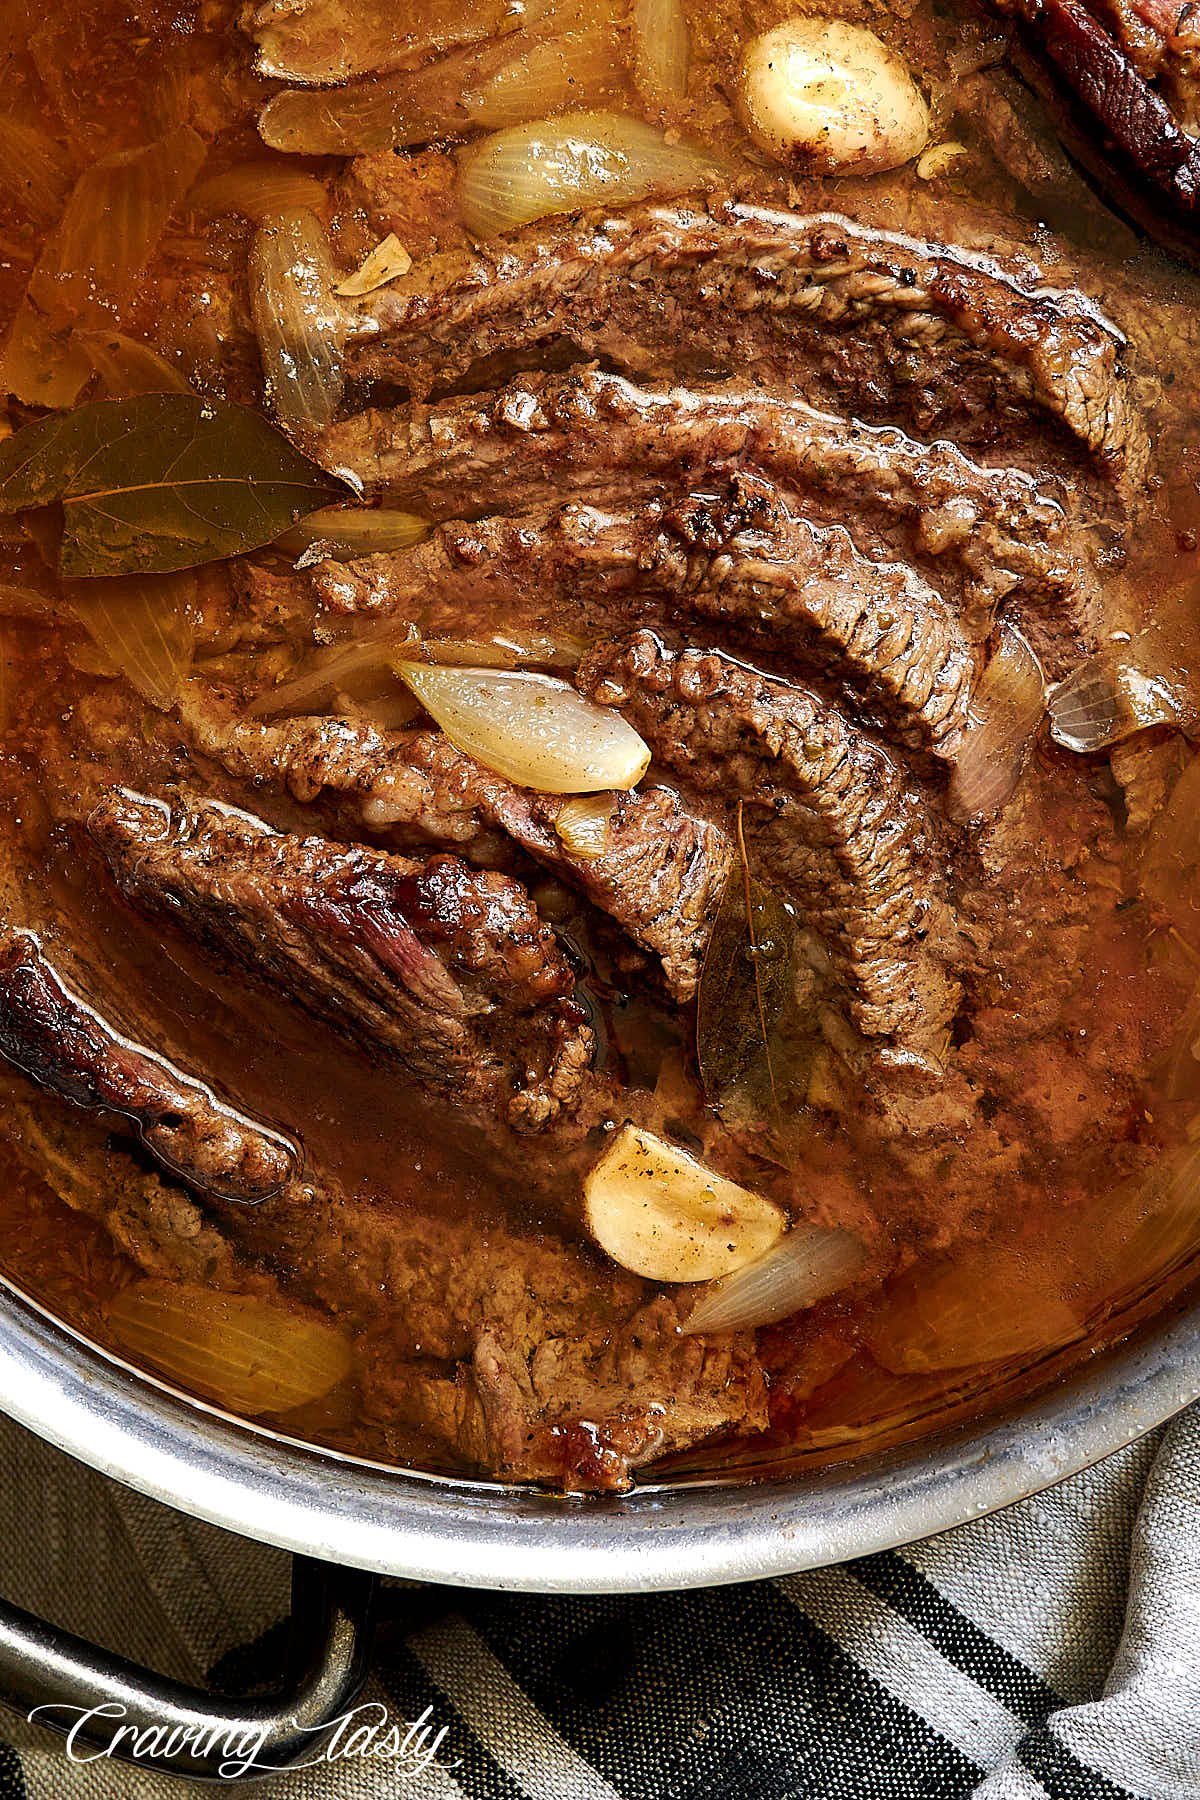
The cooking part is quite uncomplicated. Heat some oil and butter in your braising pan and sear the brisket on both sides until browned, about 4 minutes per side. Browning adds a lot of flavor. Remove the brisket from the pan and let rest on a cutting board. Meanwhile, saute the onions and garlic in the same pan until softened and aromatic. Add some flour and continue cooking until the flour is lightly brown. Pour in the beef broth, bring to a simmer and continue cooking until the mixture thickens a little. Add the rest of the seasonings and mix. You will now have a nice gravy in which the brisket will continue cooking. The meat and the onions will release liquids during braising but the liquid will still be perfect for serving over meat. If necessary, you can thicken it further after cooking. Now, slice that brisket about 1/2 inch thick and slide off the cutting board right into the braising pan. Use a spoon to scoop up some onions and garlic slices and place on top of brisket. Pour some gravy on top as well. Place two bay leaves on top. Cover and braise in the oven at 325F for 4 hours.
Serving
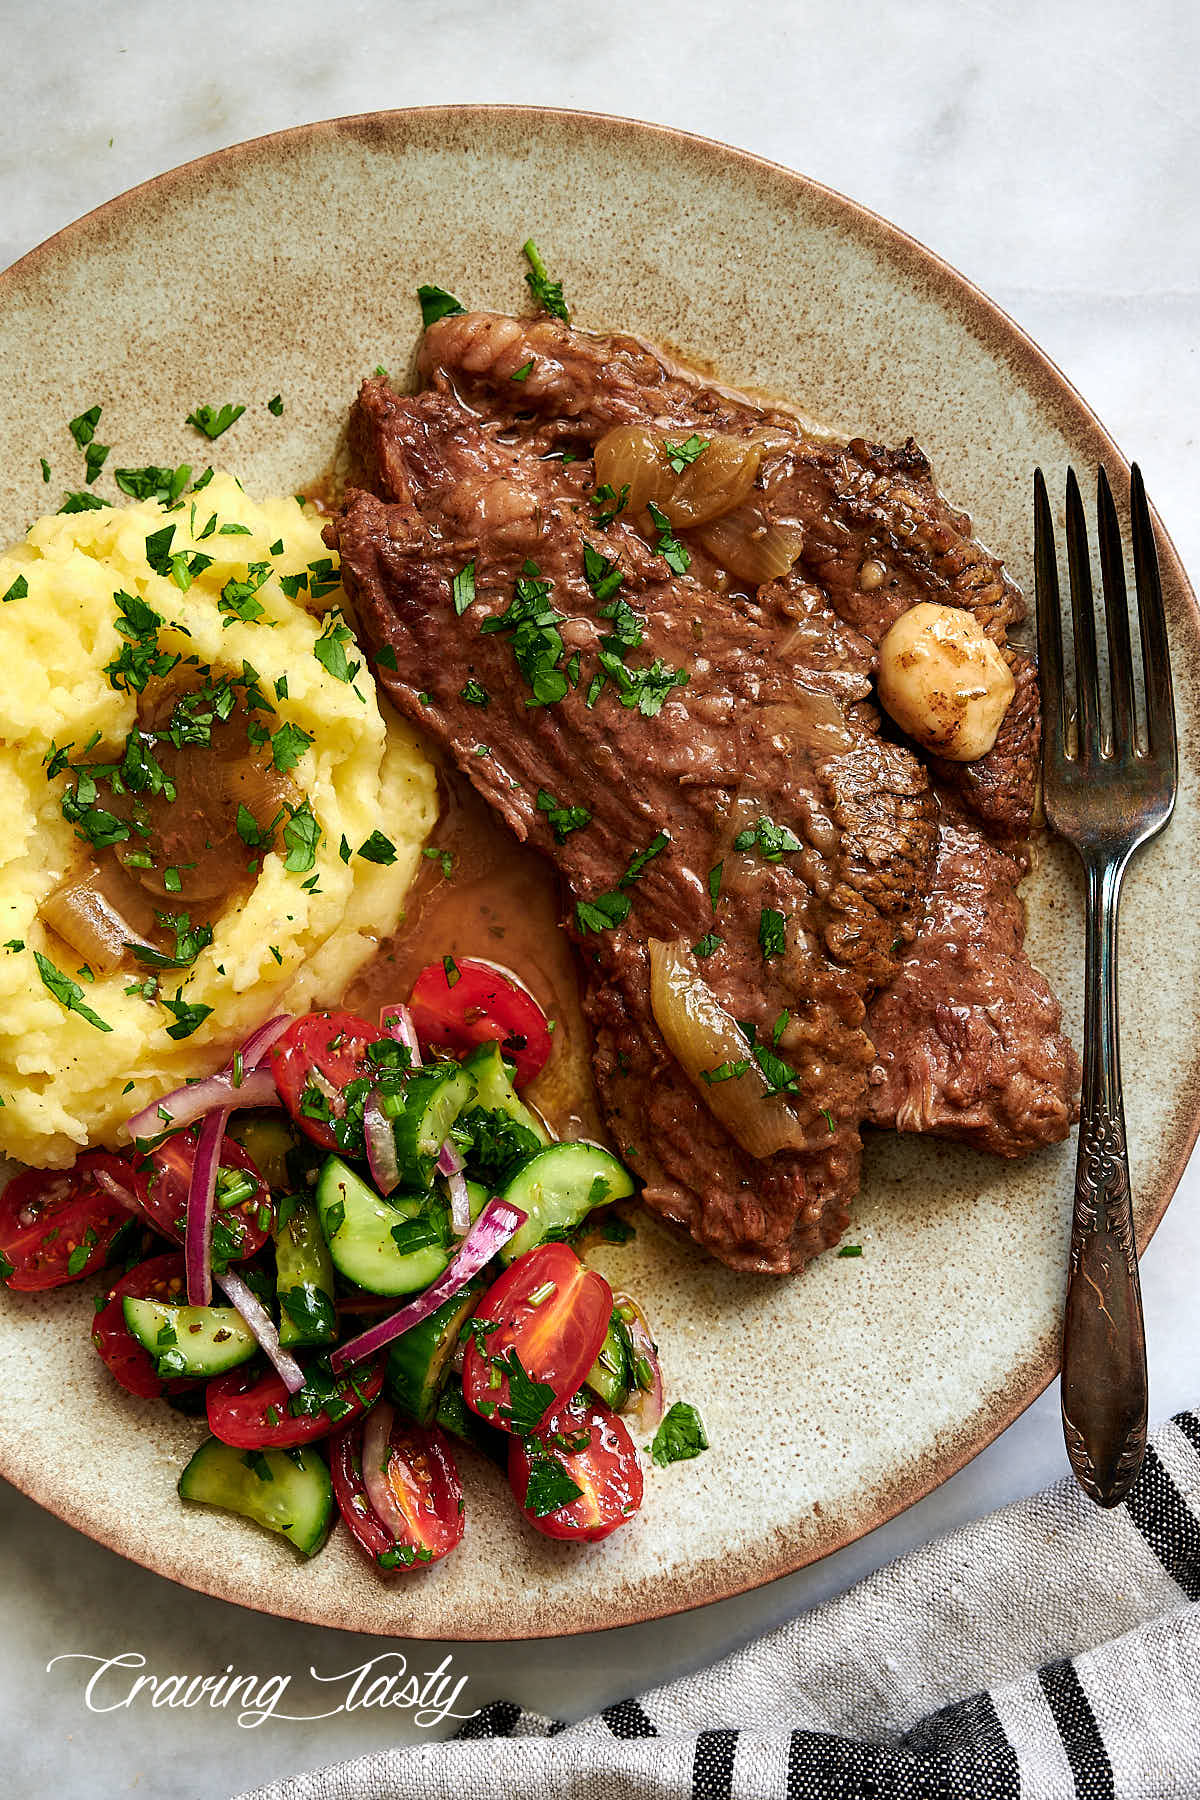
I paired the brisket with garlic mashed potatoes and my favorite tomato and cucumber salad. This made one of the tastiest dinners I’ve ever had. This braised brisket will also make outstanding sliders or sandwiches.
I also like serving some acidic sides with this dish, such as canned peppers, fermented or canned dill pickles, and pickled red onions, they really complement the rich brisket meat.
Recommended cooking tools
A 5 qt copper or cast iron braiser is ideal for making this dish. A braiser is designed to cook low and slow, from bottom and top. During cooking the lid will heat up and brown the tops of meat, adding more flavor. A dutch oven will work too but the meat will have to be layered many times and crowded. No browning here. A flat wooden spatula is perfect for a quick and effective de-glazing. Wood is hard but won’t scratch the pan.


